How to Clean Your Cat's Ears: Vet Demonstrates 5 Safe Steps to Eliminate Earwax and Odor!
As cat owners, we know cats are natural "master groomers," spending hours licking themselves clean. But have you noticed that no matter how diligent they are, they can't clean the inside of their own ears? Cat ear canals are L-shaped,
As cat owners, we know cats are natural "master groomers," spending hours licking themselves clean. But have you noticed that no matter how diligent they are, they can't clean the inside of their own ears?
Cat ear canals are L-shaped, with a curved structure that easily traps dirt. If left uncleaned for too long, the accumulated earwax, oils, and moisture become a breeding ground for bacteria and ear mites. This can lead to mild odor or, in severe cases, painful ear infections!
Don't worry, cleaning your cat's ears isn't as daunting as it seems. Today, we'll guide you step-by-step through the safest and gentlest cleaning process, empowering you to become your cat's dedicated ear-cleaning expert!
Key takeaways
- A cat's ear canal has an L-shaped structure. When cleaning, instill a special ear cleaning solution and gently massage the base of the ear for 30 to 60 seconds to dissolve earwax. After the cat shakes its head, wipe the outer ear and ear canal opening.
- Never use cotton swabs to dig into a cat's ear canal during cleaning, as this can push the earwax deeper, potentially injuring the ear canal or rupturing the eardrum.
- For normal, healthy cats, cleaning the ears once every 1 to 2 weeks is recommended. Fold-eared cats or those with oily skin may require weekly cleaning. Avoid over-cleaning to prevent disrupting the ear canal's microbial balance.
- If your cat's ears emit a foul odor, have large amounts of dark brown or black muddy/clumpy earwax, show redness or wounds, or if the cat frequently shakes its head and scratches its ears, seek immediate veterinary attention.
What we use for this
CatGarden’s own products, shipped from Taiwan Quick-Dry Pet TowelFrom CA$49.35 per pieceFree shipping on multi-packs
Essential "Tools of the Trade" for Ear Cleaning
Before you begin, gather these items:
- Cat-Specific Ear Cleaner: Be sure to choose a gentle product that is alcohol-free and medicinal-free.
- Several Cotton Pads or Gauze Squares: For wiping away dirt from the outer ear.
- Treats: To reward your cooperative feline friend after the cleaning.
- A Soft Towel: This is a crucial tool! Besides drying, it's essential for calming and gently restraining your cat.
Gentle 4-Step Cat Ear Cleaning (Fail-Proof Guide)
Step 1: The Gentle "Burrito Wrap" Restraint
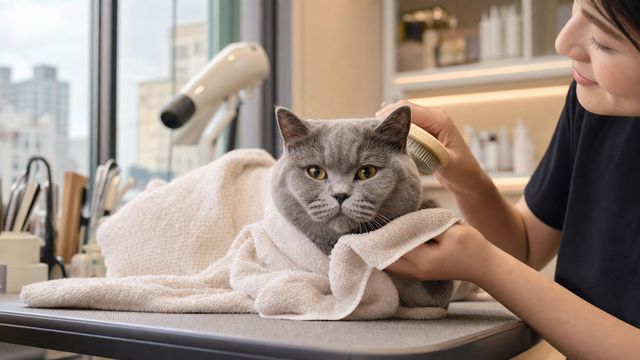
Unless you have an angel cat, most felines dislike being controlled. To avoid a cat-human battle, gently wrap your cat in a towel, exposing only their head. This is commonly known as the "burrito wrap" method. It helps your cat feel secure and prevents you from getting scratched.
A good quality towel is vital here. We recommend the CatGarden Quick-Dry Pet Towel, whose soft, skin-friendly material can help calm your cat. Its super absorbency also allows for quick drying after cleaning, making it a versatile tool!
Step 2: Apply Ear Cleaner to Irrigate the Canal
Gently hold your cat's head with one hand, tilting their ear slightly upwards. With the other hand, position the ear cleaner bottle opening towards the ear canal and squeeze until you see the liquid nearly fill the canal. Don't worry; their eardrum is deep within the L-shaped canal, so this is safe.
Step 3: Gentle Massage to Dissolve Earwax
This is the most critical step! Pinch the base of your cat's ear (the cartilage where it connects to the head) and gently massage for about 30-60 seconds. You'll hear a "squishing" sound, indicating the ear cleaner is mixing thoroughly with the deep earwax and dissolving it.
Step 4: Release! Let Your Cat "Shake" Out Debris and Wipe
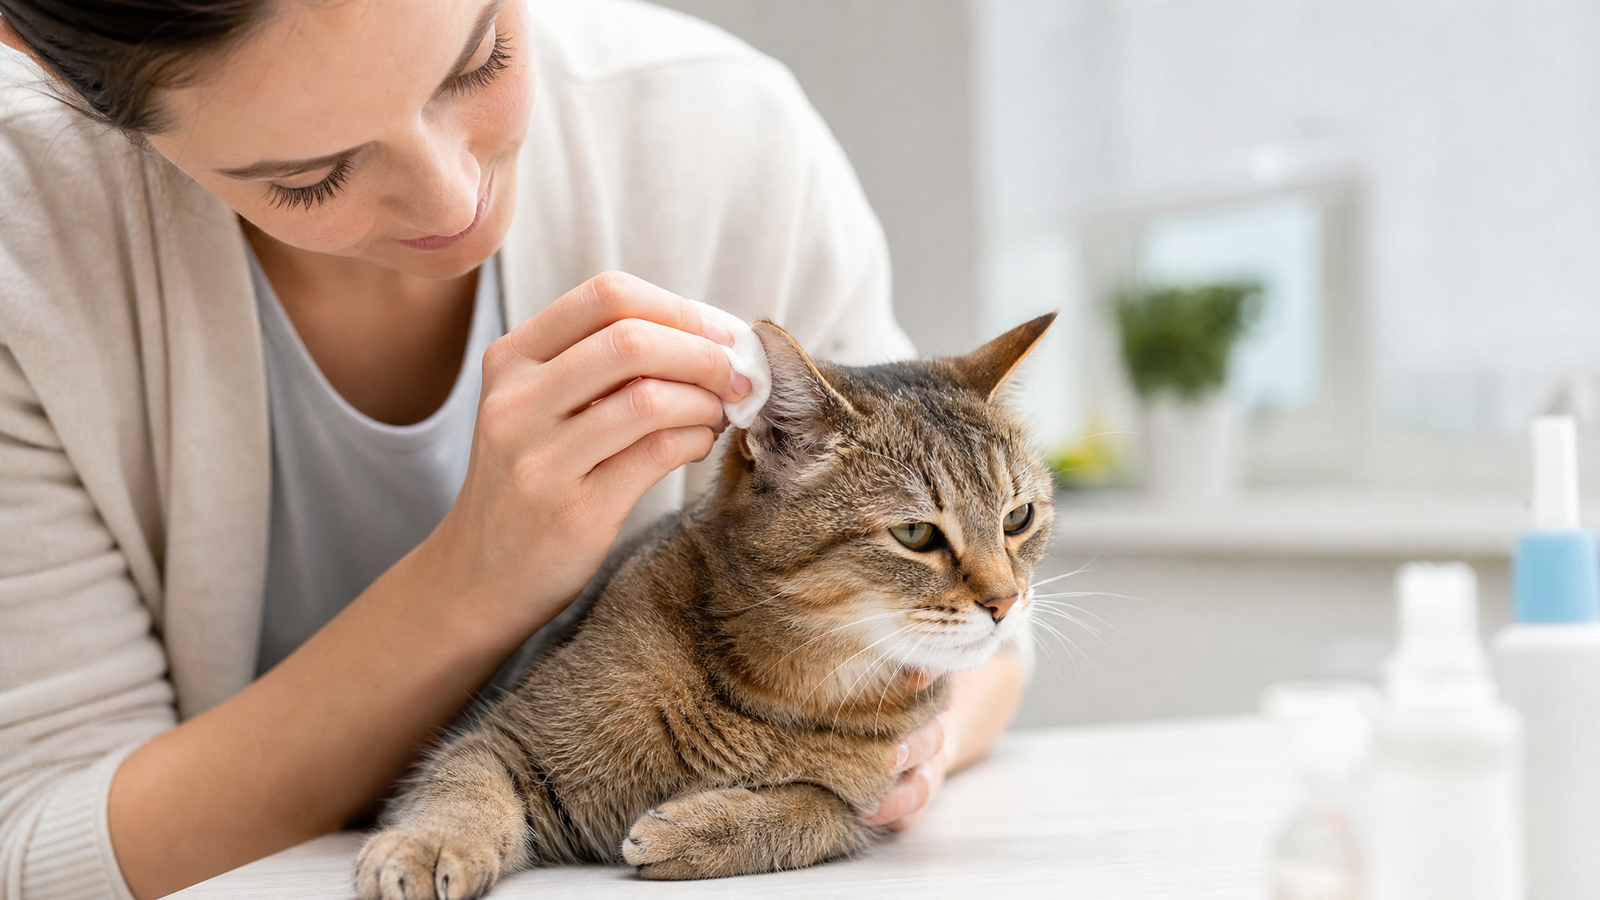
After massaging, release your cat and step back, preparing for the "shake-off"! Your cat will instinctively shake their head, expelling the liquid and dissolved debris. Once they're done shaking, use a clean cotton pad or gauze to gently wipe away any visible dirt from the outer ear and the entrance of the ear canal.
After cleaning, don't forget to offer treats and plenty of praise, helping your cat associate "ear cleaning" with positive experiences!
Three Major Taboos! Never Clean Your Cat's Ears Like This
Taboo 1: Absolutely No Cotton Swabs!
Never insert cotton swabs into your cat's ear canal to dig! This not only pushes earwax deeper but also risks injuring the delicate ear canal or even rupturing the eardrum, causing permanent damage!
Taboo 2: If You See Inflammation or Smell Odor, See a Vet Immediately!
If your cat exhibits any of the following symptoms, it's no longer a "cleaning" issue but a "medical" one! Do not attempt to treat it yourself; take them to the vet immediately!
- A foul odor emanating from the ears.
- Large amounts of dark brown or black, mud-like or clumpy earwax (highly suggestive of ear mites).
- Noticeable redness, swelling, or even wounds inside the ears.
- Your cat frequently shakes its head, tilts its head, or scratches its ears.
Taboo 3: Do Not Over-Clean!
A cat's ear canal has its own balance of microorganisms. Over-cleaning disrupts this protective layer, making it more prone to inflammation.
- For Normal Cats: It's recommended to clean once every 1-2 weeks.
- For Special Breeds (like Scottish Folds) or Cats with Oily Skin: You may increase cleaning to once a week, depending on the situation.
Conclusion:
Regularly cleaning your cat's ears is an important responsibility for every owner. By following the principles of "gentle restraint, thorough irrigation, gentle massage, and proper wiping," and using the right tools, you can safely and effectively maintain your cat's ear health and keep them free from ear discomfort!
Cat Grooming Appointment Suggestions
If the issues mentioned in this article are affecting your cat's fur, skin, nails, or general hygiene, consider checking out CatGarden's Cat Grooming Services before scheduling a bath, trim, or nail clipping based on your cat's age, coat condition, and temperament.
Frequently Asked Questions
How often does a cat need grooming or bathing?
Most healthy indoor cats do not require frequent baths. However, if there are issues like matted fur, excessive oiliness, odor, severe shedding, or skin cleanliness needs, grooming can be scheduled based on the coat's condition.
Can nervous or water-averse cats be groomed?
Yes, but the grooming process needs to be adjusted based on the cat's personality, age, and health. For nervous cats, it's advisable to choose a grooming environment where the groomer is familiar with feline behavior, avoiding excessive force.
What should owners be aware of before their cat's grooming appointment?
Before grooming, inform the groomer if your cat is afraid of blow-drying, has a history of skin conditions, has recently been on medication, or is experiencing any physical discomfort. This will help ensure a safer grooming process.
References
CatGarden | Luxury Cat Hotel in Banqiao, offering boarding and grooming services.
Further Reading
- How to Trim Your Cat's Nails: Tools, Steps, Calming Techniques, and Bleeding Management
- What to Do About Cat Bad Breath? Brushing Techniques, Dental Warning Signs, and Oral Care
- What to Do About Cat Hairballs? Causes, Solutions, and Gastrointestinal Warning Signs
CatGarden offers curated supplies, cat boarding, and grooming
Book services or shop online.